Add falling snow to any Canva design or video in under a minute with Animated Overlays — an animated, transparent snow overlay you can recolor, resize, and export.
Canva doesn’t ship a built-in falling-snow animation, but with the Animated Overlays app you can drop an animated, transparent snow layer onto any design — photos, videos, stories, or presentation slides — in under a minute.
In the Canva editor, open Animated Overlays from the left sidebar (or find it via Apps). The panel opens with the Snow effect already selected.
2
Check the live preview
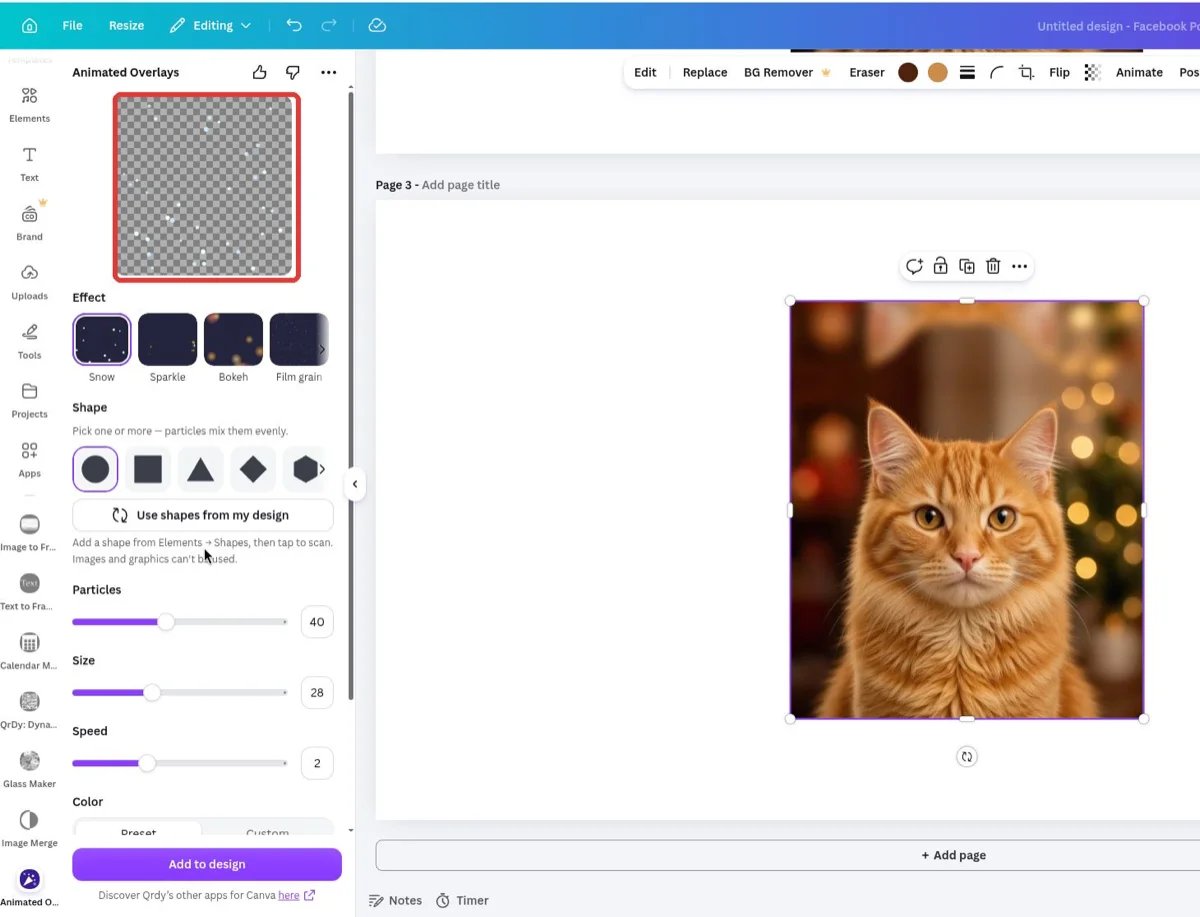
The preview at the top shows snow falling on a checkerboard background — the checkerboard is transparency, so your design will show through everywhere except the snowflakes.
Snow playing in the panel preview — the checkerboard area is fully transparent
3
Tune the snowfall
Drag the Particles, Size, and Speed sliders (or type exact numbers) until it looks right. Fewer, larger flakes read as gentle snow; many small, fast flakes read as a storm. Snow’s defaults are Particles 40, Size 28, Speed 2.
4
Pick the snow color
Keep the default white, tap a Preset palette, or switch to Custom to match your design’s colors exactly with Canva’s color picker.
5
Add to design
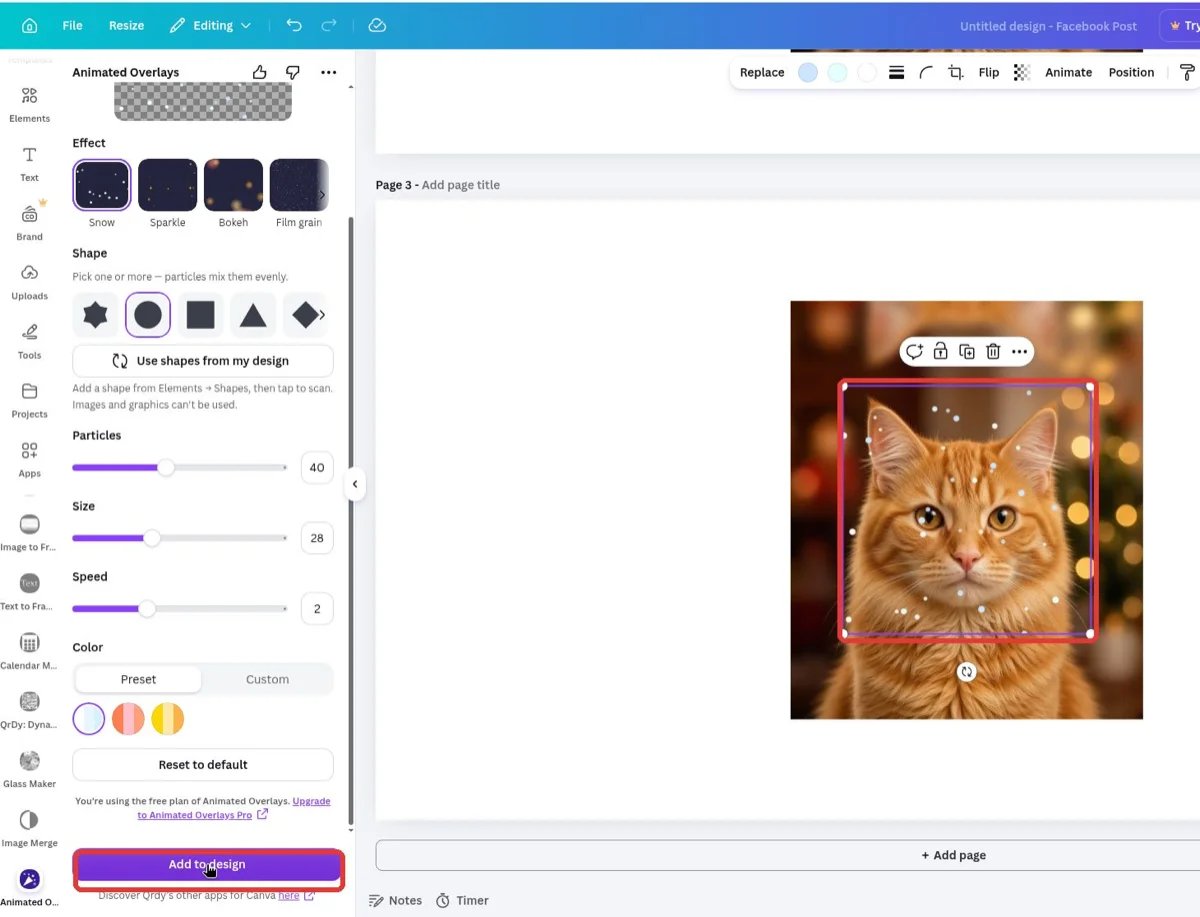
Press Add to design. The snow sticker lands on your page — stretch it to cover the area you want, and layer it above your photo or video.
The snow sticker placed over the photo, ready to move and resize
6
Preview and export
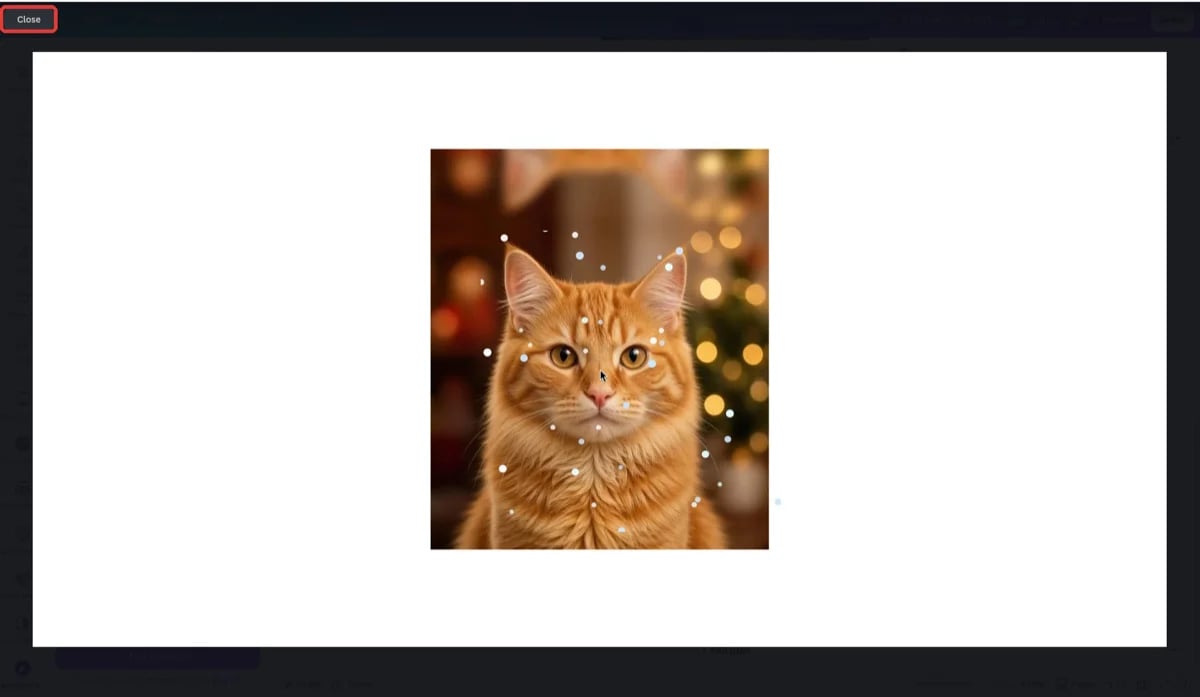
Press Canva’s Preview button to watch the snow fall over your design. Export as MP4 video to keep the animation.
Preview mode: falling snow over the photo, no box and no background
Get Animated Overlays
Animated snow, confetti, bokeh and more — transparent stickers for any Canva design.
The same workflow applies to every other effect — confetti for celebrations, bokeh for dreamy portraits, fireworks for New Year posts, falling leaves or blossom for seasonal content. Browse all 16 effects in the complete guide.