Install and open Calendar Maker
Tab 1 — Month (monthly calendars)
The Month tab builds the familiar month grid (weekdays across the top, dates in the cells).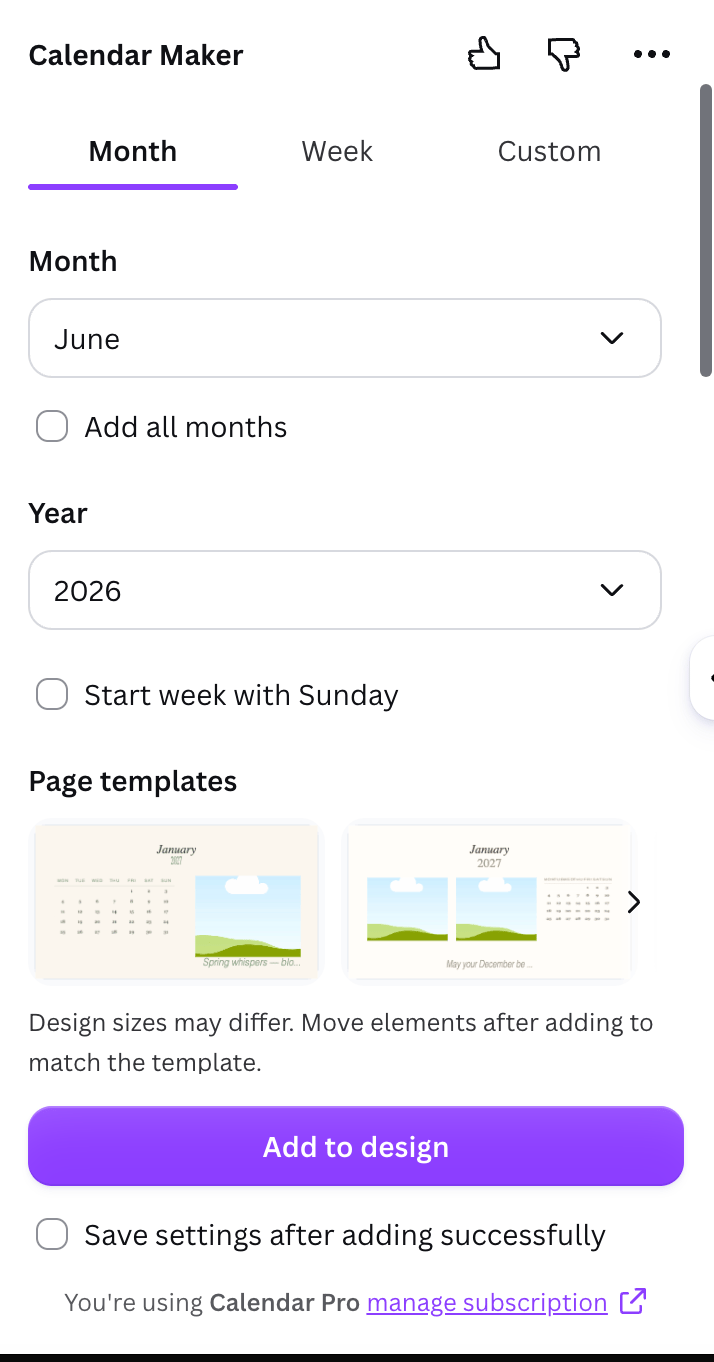
Add all 12 months (optional)
Turn on Add all months to generate the whole year at once. Turn on Each month on its own page to place every month on a separate, auto-named page.
Set the week start
Toggle Start week with Sunday for the US layout (the app guesses your default by region).
Tab 2 — Week (weekly planners & timetables)
The Week tab builds a table by weekday — great for class schedules and weekly planners.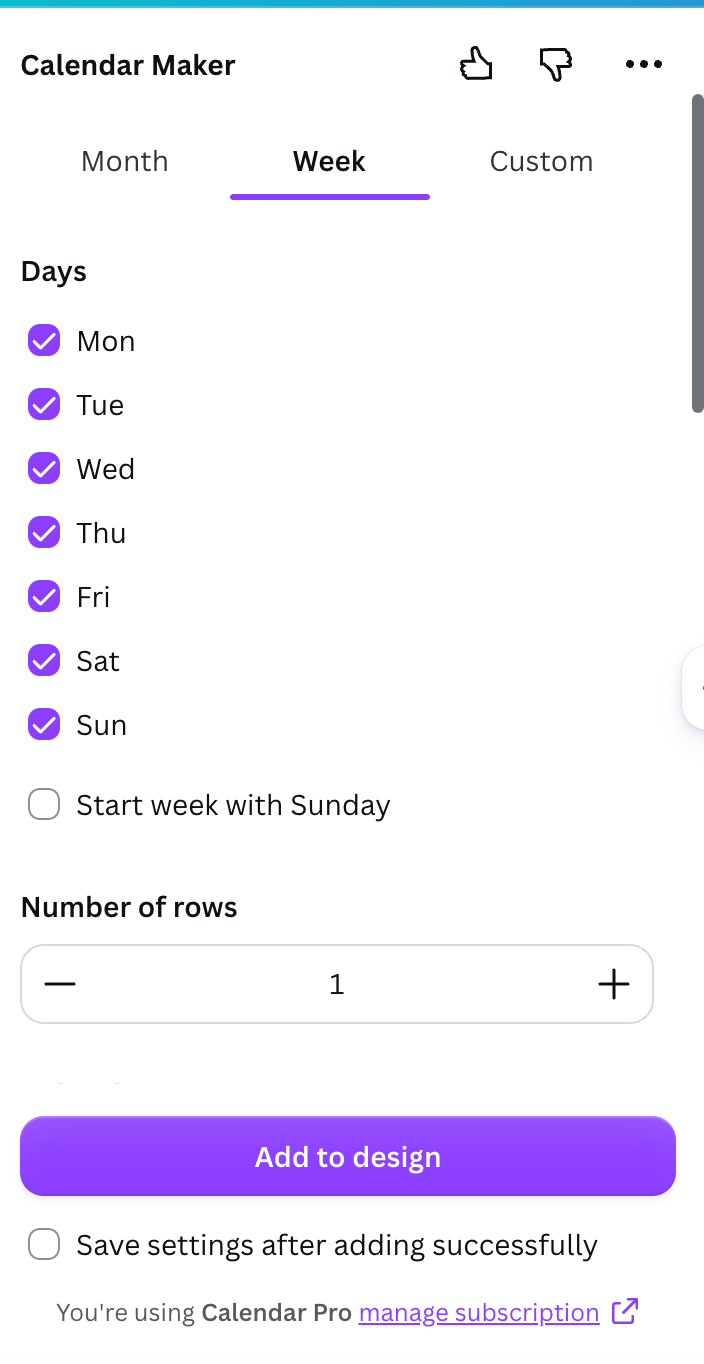
Pick which days appear
Check the weekdays you want (at least one). Use Start week with Sunday to move Sunday first.
Set the number of rows
Set Number of rows (1–27) to add blank rows under each day for notes or plans.
Tab 3 — Custom (any date range)
The Custom tab builds a calendar for any span of dates — a school term, a project timeline, a season.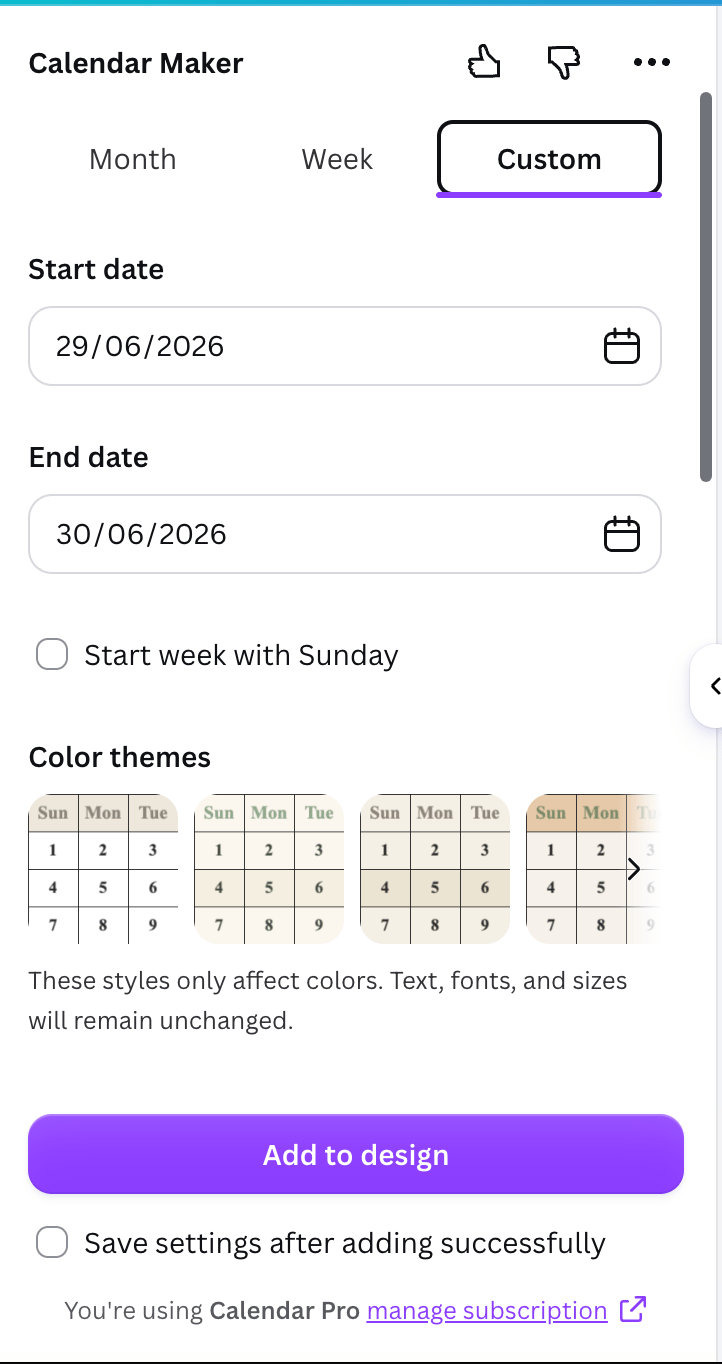
Set start and end dates
Choose a Start date and End date. The maximum span is 150 days — beyond that the app shows an error on the date field.
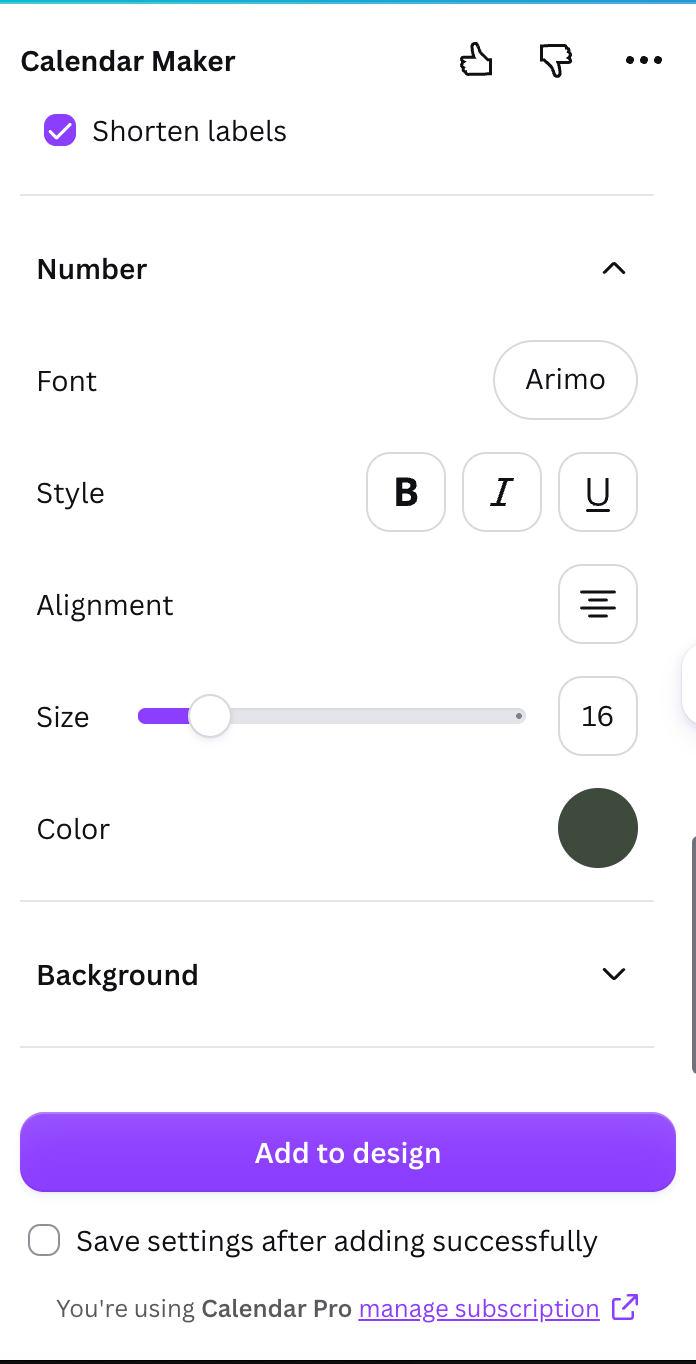
Styling: fonts, sizes, and alignment
Every tab has style controls grouped in collapsible sections, with a live preview that updates as you adjust.Header text (weekday names)
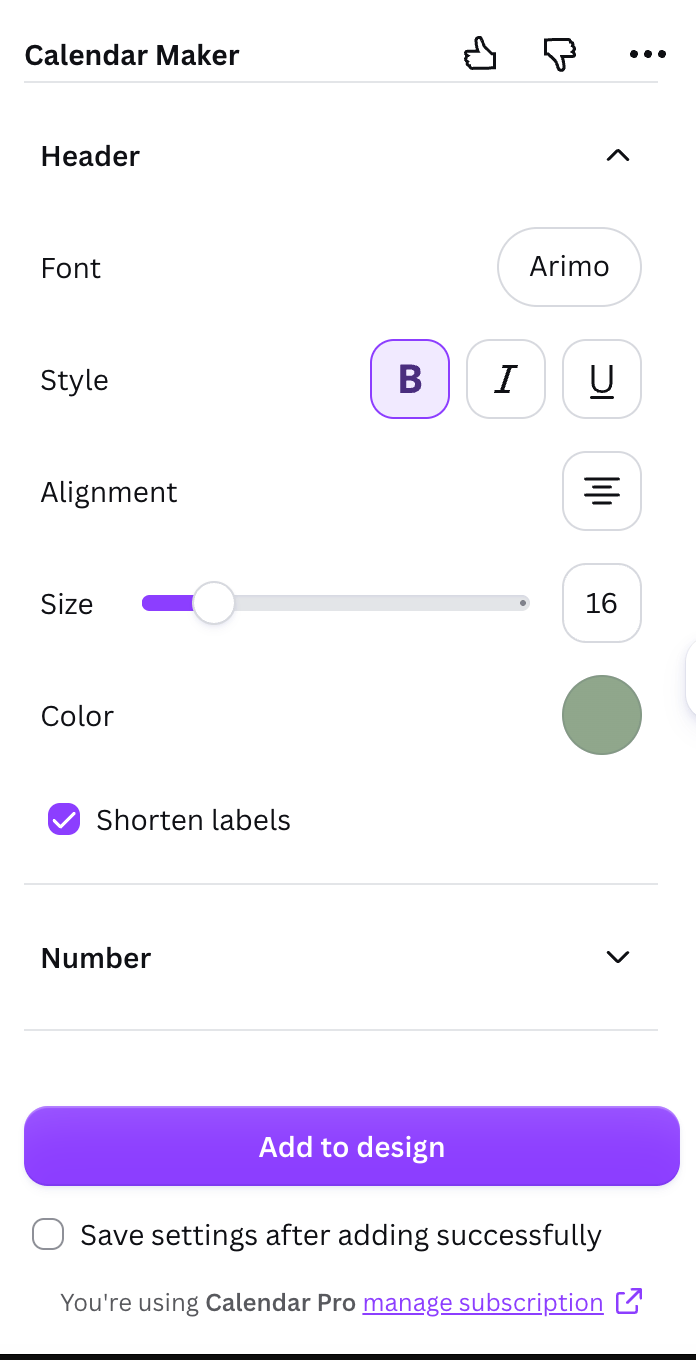
Number text (the dates)
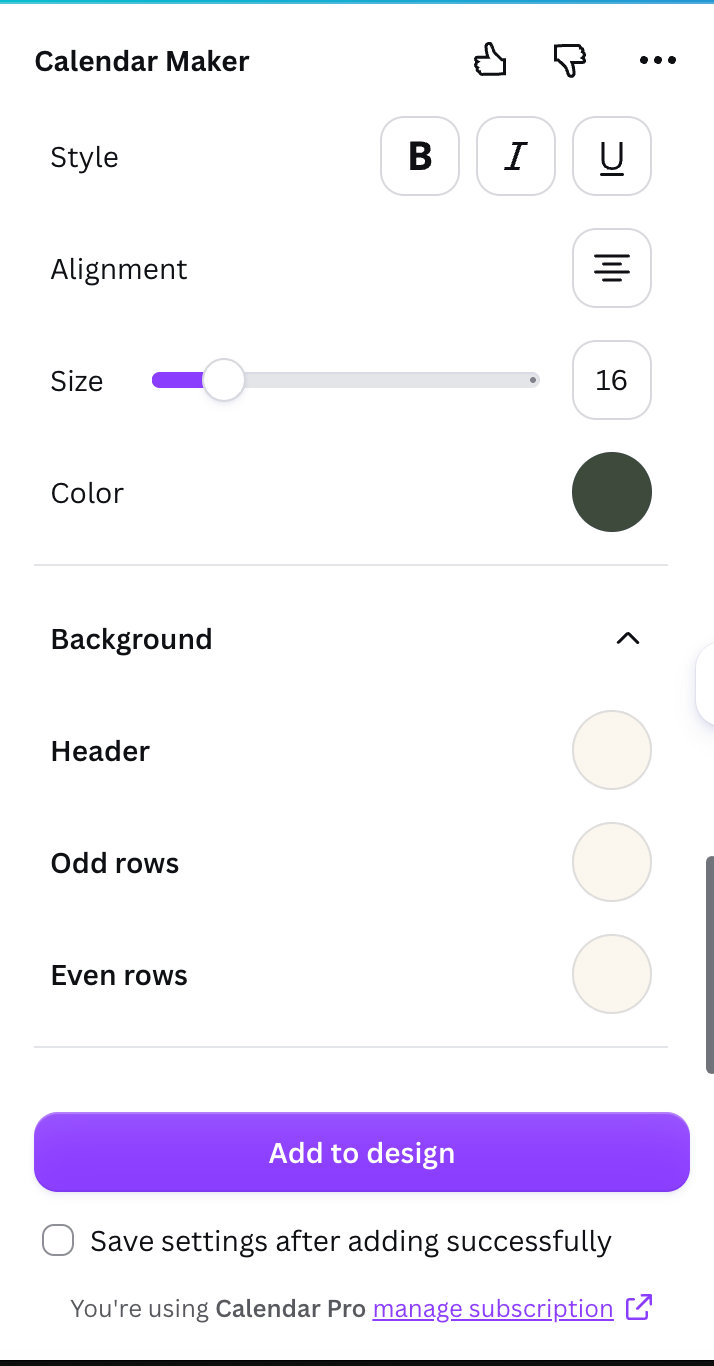
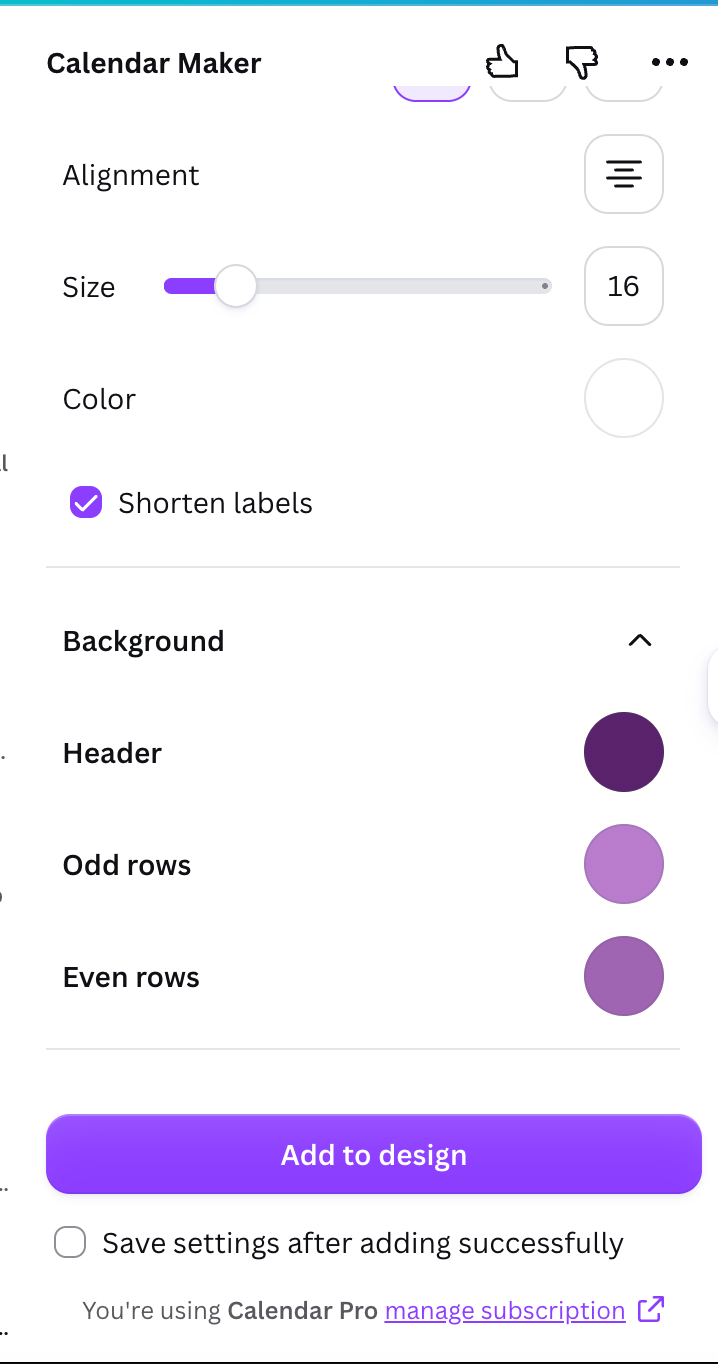
Styling: background colors
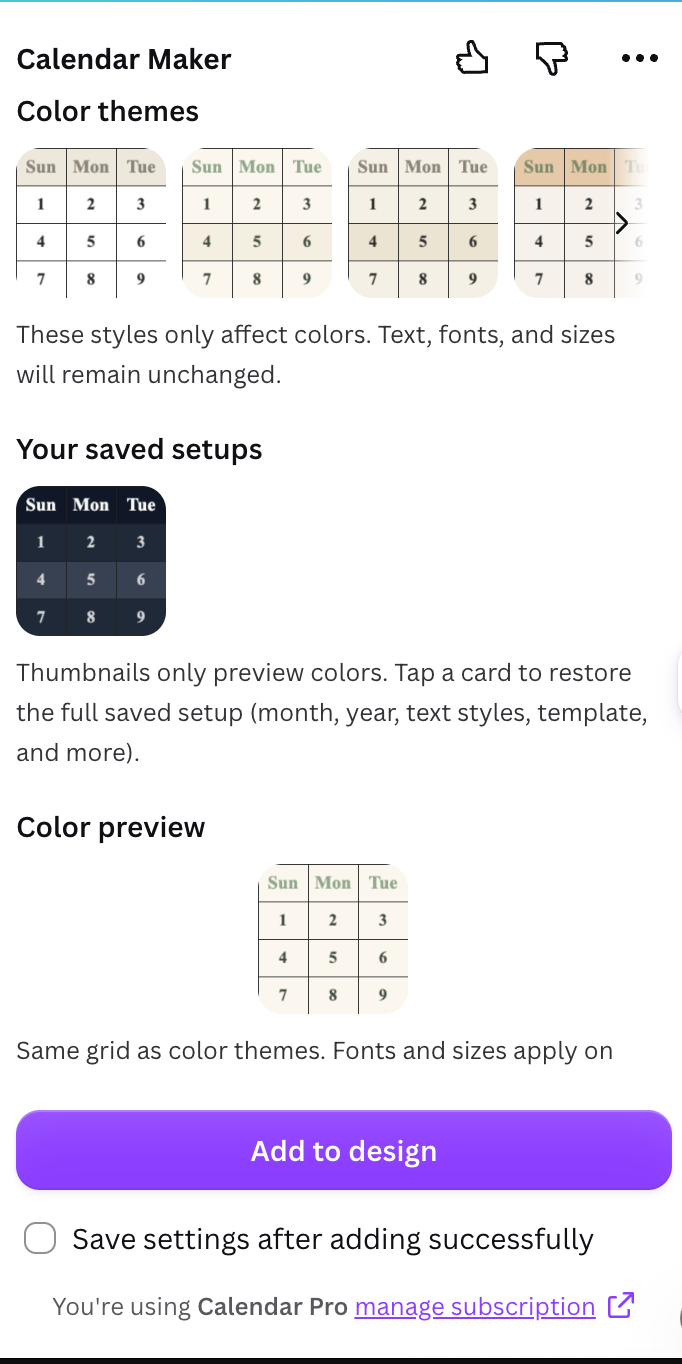
Preset color themes and live preview
Page templates (decorated layouts)
On the Month tab you can place the calendar on a pre-designed page (about 14 themes such as Botanical, Watercolor, Scandi Minimal, Midcentury, Coastal, Vintage Postcard). The app fills in the month and year and matches the calendar’s colors to the template.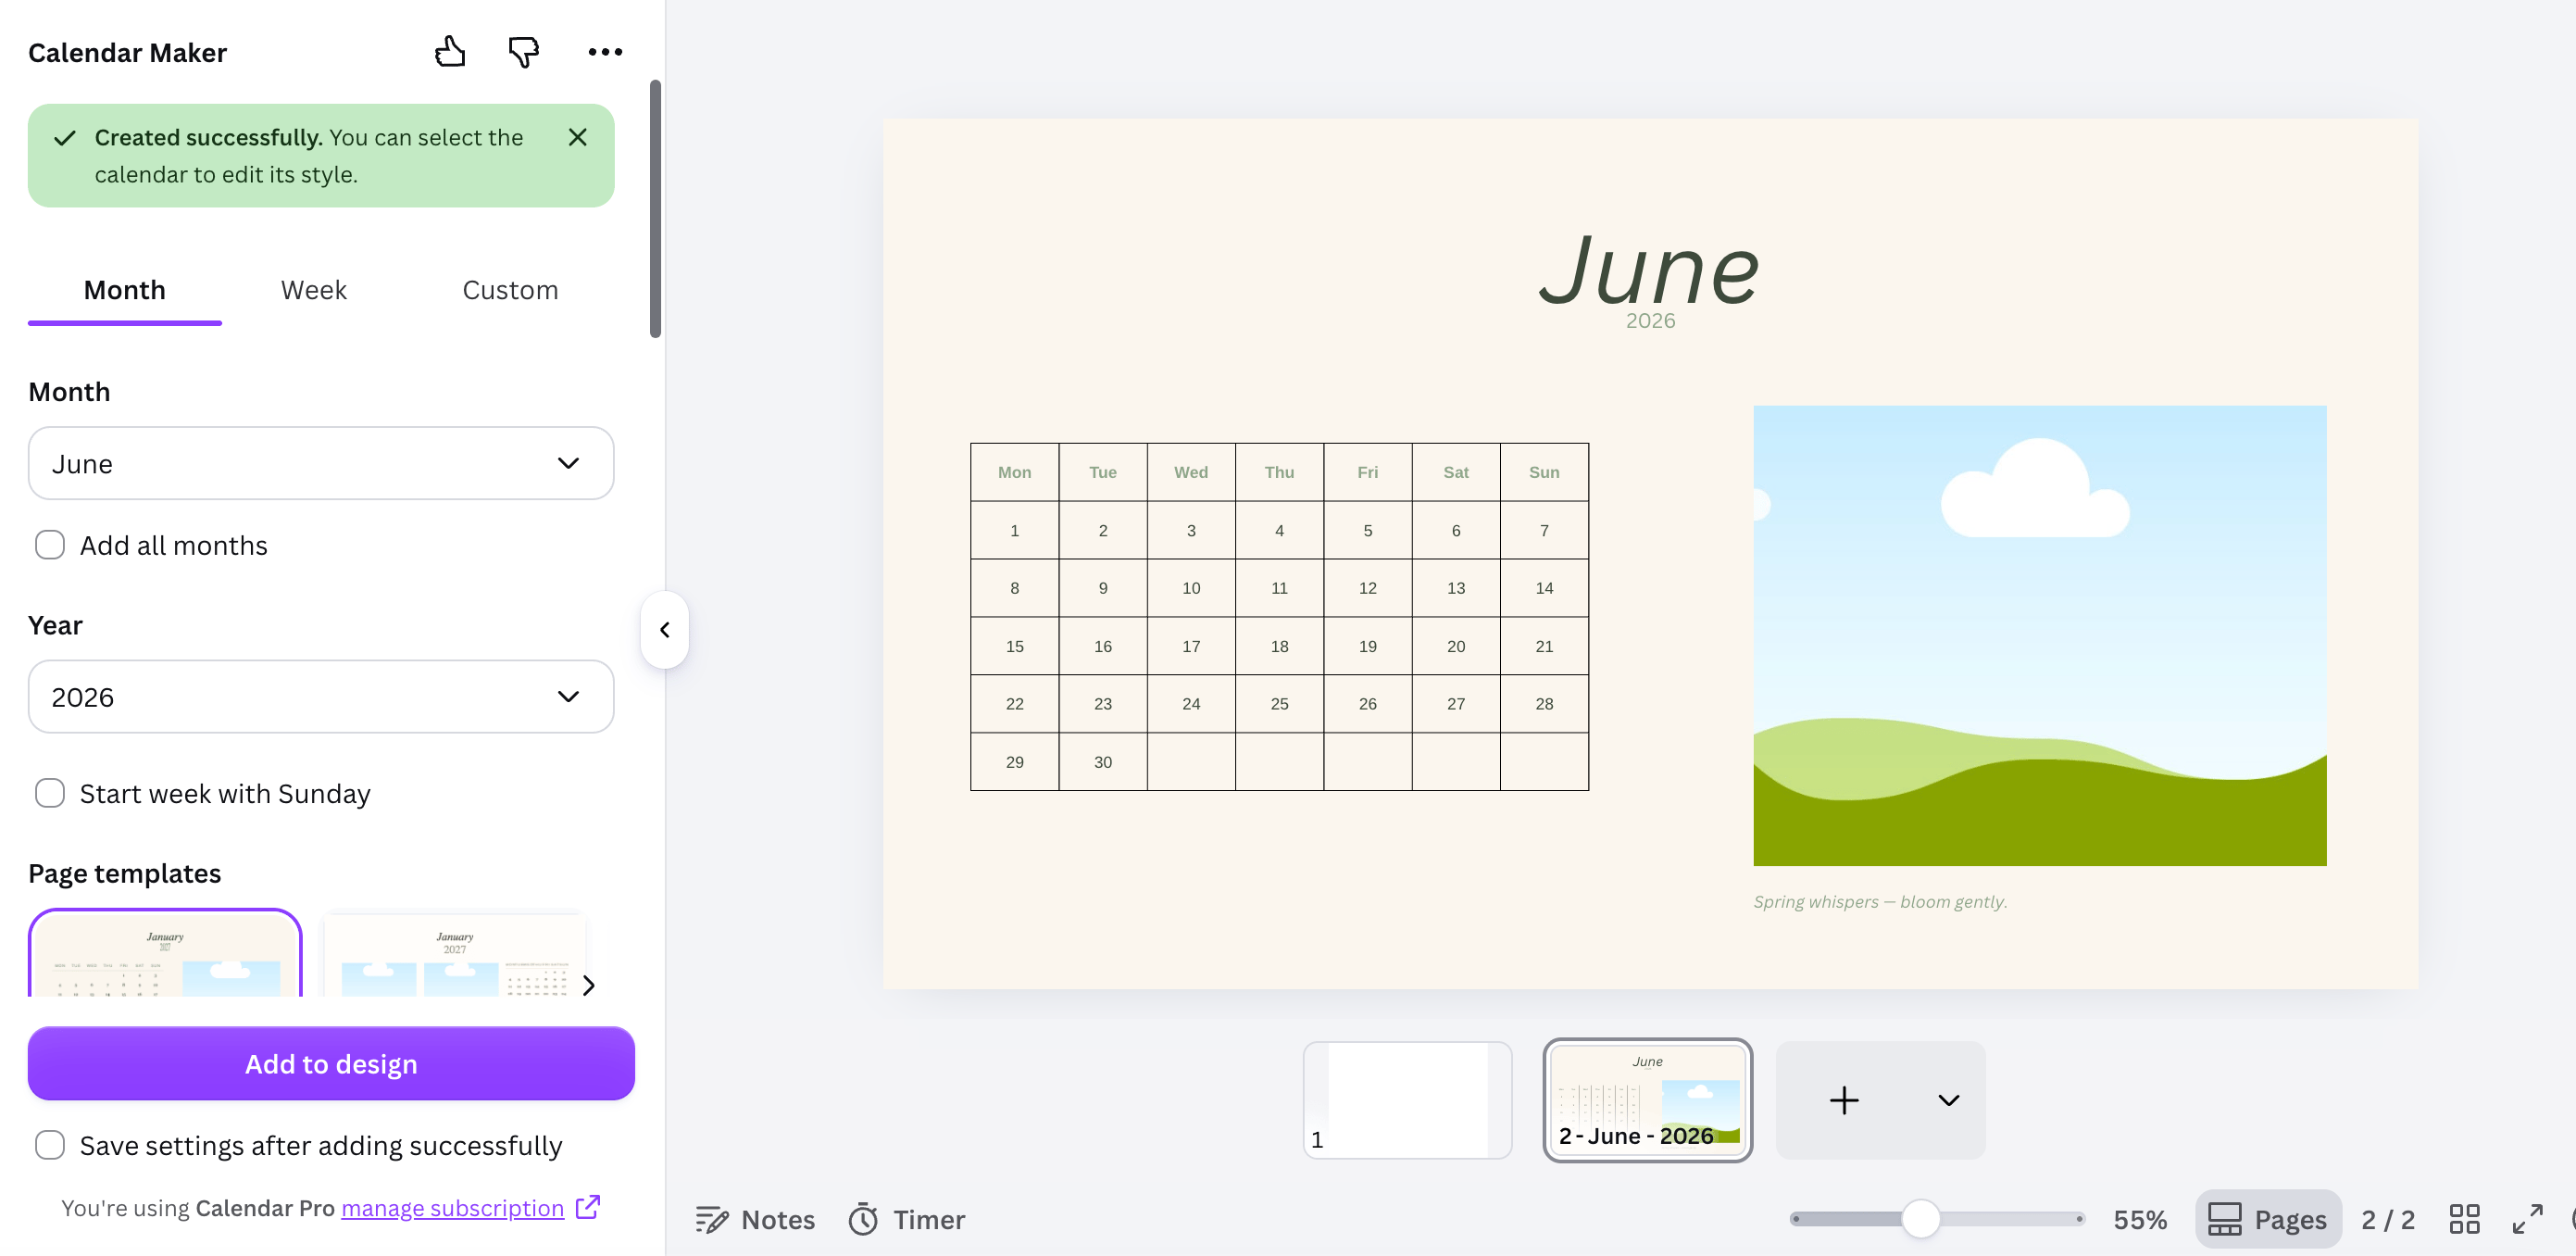
Design sizes may differ from the template, so you may need to nudge elements to line up after adding.
Save and reuse your setups
Below Add to design there’s a Save settings after adding successfully checkbox. When it’s on, your full configuration is saved each time you add a calendar. Each tab keeps its own Your saved setups carousel — tap a saved card to restore everything (dates, fonts, colors, template). The app keeps your ~30 most recent setups per tab.Add the calendar to your design
Click Add to design
When you’re happy with the preview, click Add to design. The calendar (and a new page, if you used a template or multiple months) drops into your Canva design.
Free vs Pro
Pro users see the Add to design button and full access. Without Pro, you’ll see Unlock to use (opens an upgrade page) and Restart app (re-checks your status after unlocking). The app checks your Pro status automatically through your Canva account.Languages
Calendar Maker is multilingual — month names, weekday names, and the interface follow your language, and the default week start (Monday or Sunday) is guessed from your region.Frequently asked questions
How do I make a printable 2026 calendar?
How do I make a printable 2026 calendar?
On the Month tab, set the year to 2026, generate each month (or use Add all months), add your holidays and notes, then download as PDF Print.
Can I make a calendar for a custom date range?
Can I make a calendar for a custom date range?
Yes — use the Custom tab and set a start and end date (up to 150 days).
Can I reuse my colors and fonts next time?
Can I reuse my colors and fonts next time?
Yes — turn on Save settings after adding successfully, then restore from Your saved setups on each tab.
Why don't I see the Add to design button?
Why don't I see the Add to design button?
Open Calendar Maker in Canva
Generate a calendar for any month, year, or date range in seconds.