What Image to Frames does
Canva’s built-in frames are basic shapes. Image to Frames lets you define the frame yourself from any image, so you’re not limited to the built-in set.
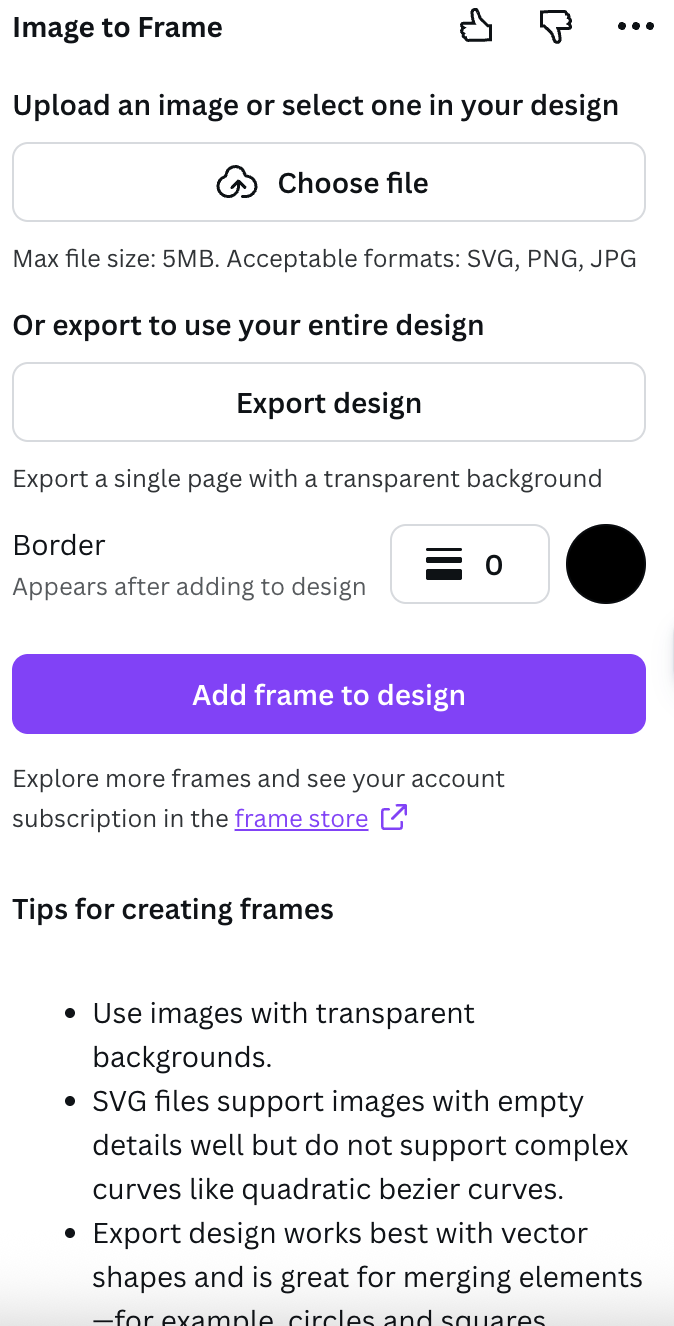
- Formats: PNG, SVG, JPG (up to 5MB per file).
- One-click convert: add an image, click Add frame to design, and the frame appears.
- True-to-outline frames: if the image has a transparent background, the frame follows its real shape (not a rectangle).
- Border control: set border weight and color.
- Frame Store: a library of ready-made frames.
Three ways to bring in an image
Upload a file
Use an image from your device — SVG, PNG, or JPG, up to 5MB.
Select one in your design
Pick a single image already on your Canva page.
Export design
Export the whole page as a transparent PNG to combine several elements into one frame.
Step-by-step
Open the app
Launch Image to Frames from the Canva Apps panel. It signs you in automatically through your Canva account.
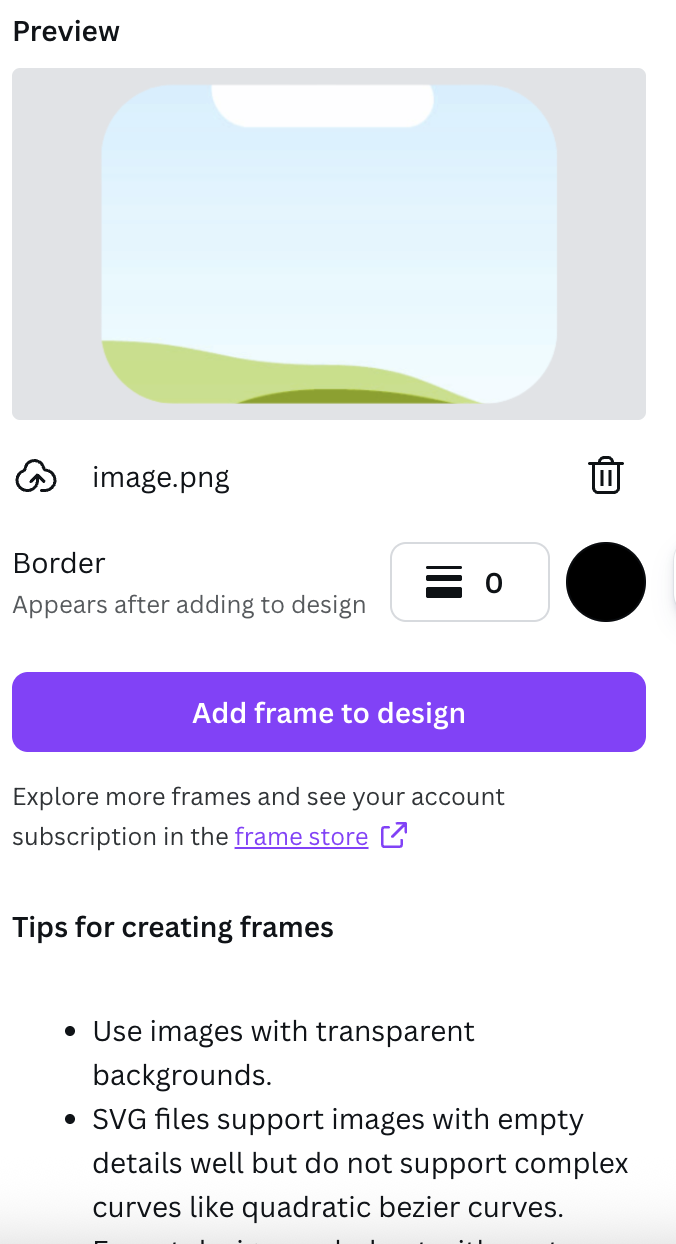
Check the preview
The app shows a preview of the frame it will create. Not happy? Remove it and pick another image.
Set the border (optional)
Adjust border weight (0–50) and color. Note: the border only shows after the frame is added to your design, not in the preview.
Add the frame to your design
Click Add frame to design. The app converts your image into frame data and places it on your Canva page.
The most important tip: remove the background first
The Frame Store
If you’d rather not build a frame, open the Frame Store — a library of ready-made frames you can drop straight into your design. (Special SVG frames from the store are recognized by the app and loaded as the correct frame.)Free vs Pro
Without Pro, the app shows an upgrade screen with a demo, a Try Image to Frame Pro button (opens the sign-up page), and a free offer for students and teachers. After upgrading on the web, click Restart Image to Frame so the app re-checks your status and opens the main screen. Pro users go straight to the workspace and unlock the Frame Store.Troubleshooting
My frame is a rectangle, not my shape
My frame is a rectangle, not my shape
The image had a background. Remove the background, then convert again so the frame follows the outline.
File too large
File too large
Files must be 5MB or smaller. Compress or resize the image and try again.
Export didn't work
Export didn't work
The app accepts a single PNG. Export one page as a transparent PNG, not multiple pages or another format.
My image won't convert
My image won't convert
Very complex shapes may not convert. Try a simpler image, or grab a frame from the Frame Store instead.
Use cases
- Turn a logo into a frame and fill it with a product photo.
- Convert handwriting (scanned or drawn) into a frame.
- Puzzle frames — each piece a frame with a different image.
- A custom shape from a PNG icon → a unique polygon frame.
Open Image to Frames in Canva
Turn any image into a custom Canva frame in one click.