

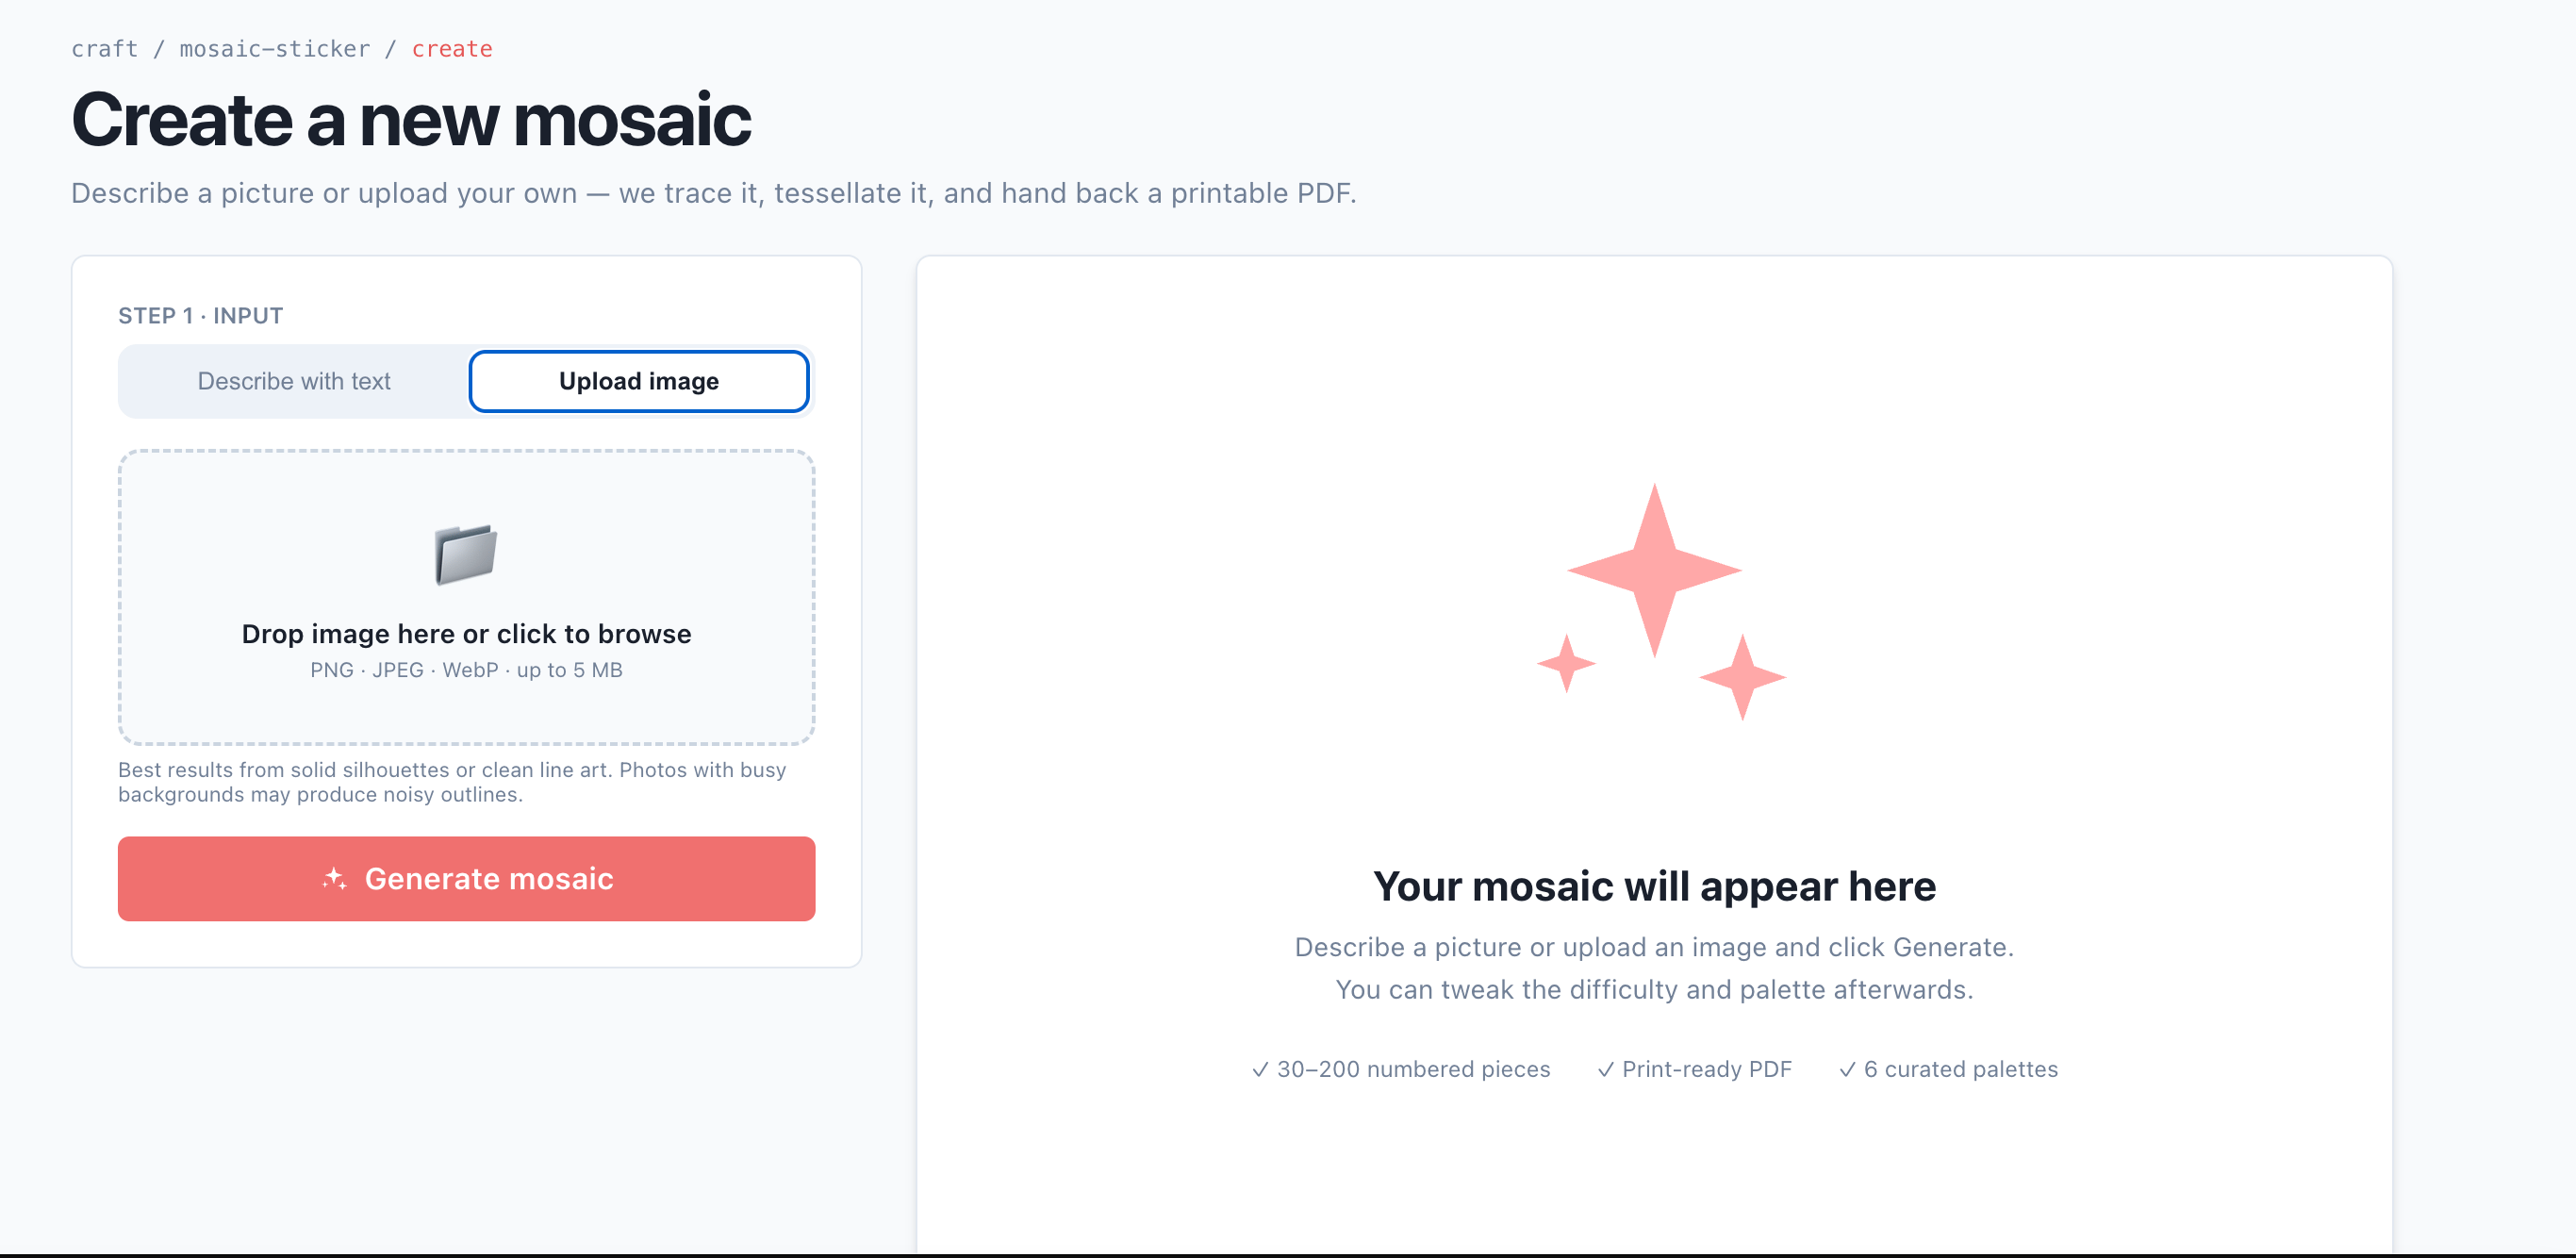
QrdyCraft Create page — type a keyword or upload a photo, then adjust difficulty and palette
Before you start
You’ll need a QrdyAI account (free to start — the first creation is free) and access to a print-and-cut decal shop. That’s any print shop with a print-and-cut machine such as a Roland VersaSTUDIO or Mimaki CJV. Many local sign, sticker, and copy shops have one.Prefer no printing at all? Every mosaic can also be played online — share a link or QR code and your child drags numbered stickers into place on a phone or tablet. This guide covers the print path; the online path needs no setup beyond sharing the link.
Step 1 — Generate your mosaic
1
Open the Create page
Go to qrdyai.com/craft and click Create yours — free. If you’re not signed in, QrdyCraft will send you to sign in and bring you back.
2
Add a photo or a keyword
Type a keyword (like rainbow butterfly) for a gallery-friendly design, or switch to the Upload photo tab to use your own picture — your kid, the family dog, a drawing. Uploaded photos stay private and are never published to the public gallery.
3
Generate
Click Generate. In a few seconds you’ll see the finished color mosaic. You can preview it as Mosaic art, Numbered grid, Sticker sheet, or Color legend.
4
Pick difficulty and palette
Match the difficulty to your child’s age, then choose a palette (Pastel, Vibrant, Ocean, Forest, Rainbow, Candy) and click Re-tessellate to rebuild the pieces on the same picture. For a first try, Medium · Rainbow keeps a 6-year-old busy for about 30 minutes.
Step 2 — Download the two PDFs
Click Download. QrdyCraft gives you a ZIP with two files, each for a different purpose:mosaic-preview.pdf(5 pages, for your family): cover, finished art, numbered grid, sticker sheet, and color key.stickers-print-and-cut.pdf(1 page, for the print shop): the sticker sheet with a special CutContour line so a print-and-cut machine knows exactly where to kiss-cut each decal.
On the free plan, a small
Made with QrdyCraft watermark appears only on the cover and finished-art pages. The numbered grid, sticker sheet, and color key — the pages your child actually uses — never carry a watermark, and on the print-and-cut file the watermark sits outside the cut line, so the machine trims it away.Step 3 — Get the decals printed and cut
Takestickers-print-and-cut.pdf to a decal print shop and ask for:
“A4, transparent PVC decal, print and kiss-cut on the CutContour spot color. One sheet.”That “kiss-cut” instruction tells the machine to cut through the sticker layer but not the backing, so each numbered piece peels off cleanly. This usually takes 5–15 minutes and costs about $1–3 per sheet.
Step 4 — Print the reference pages at home
Frommosaic-preview.pdf, print pages 3–5 on plain A4 paper:
- Page 3 — numbered grid: the board your child sticks onto.
- Page 4 — sticker sheet: shows where each numbered piece goes.
- Page 5 — color key: matches numbers to colors.
Step 5 — Peel and stick by number
Give your child the printed numbered grid and the cut decal sheet. They peel a sticker, find the grid cell with the same number, and press it down. For the first few seconds each decal can still slide, so a slightly crooked piece is easy to nudge straight. When the grid is full, the picture appears.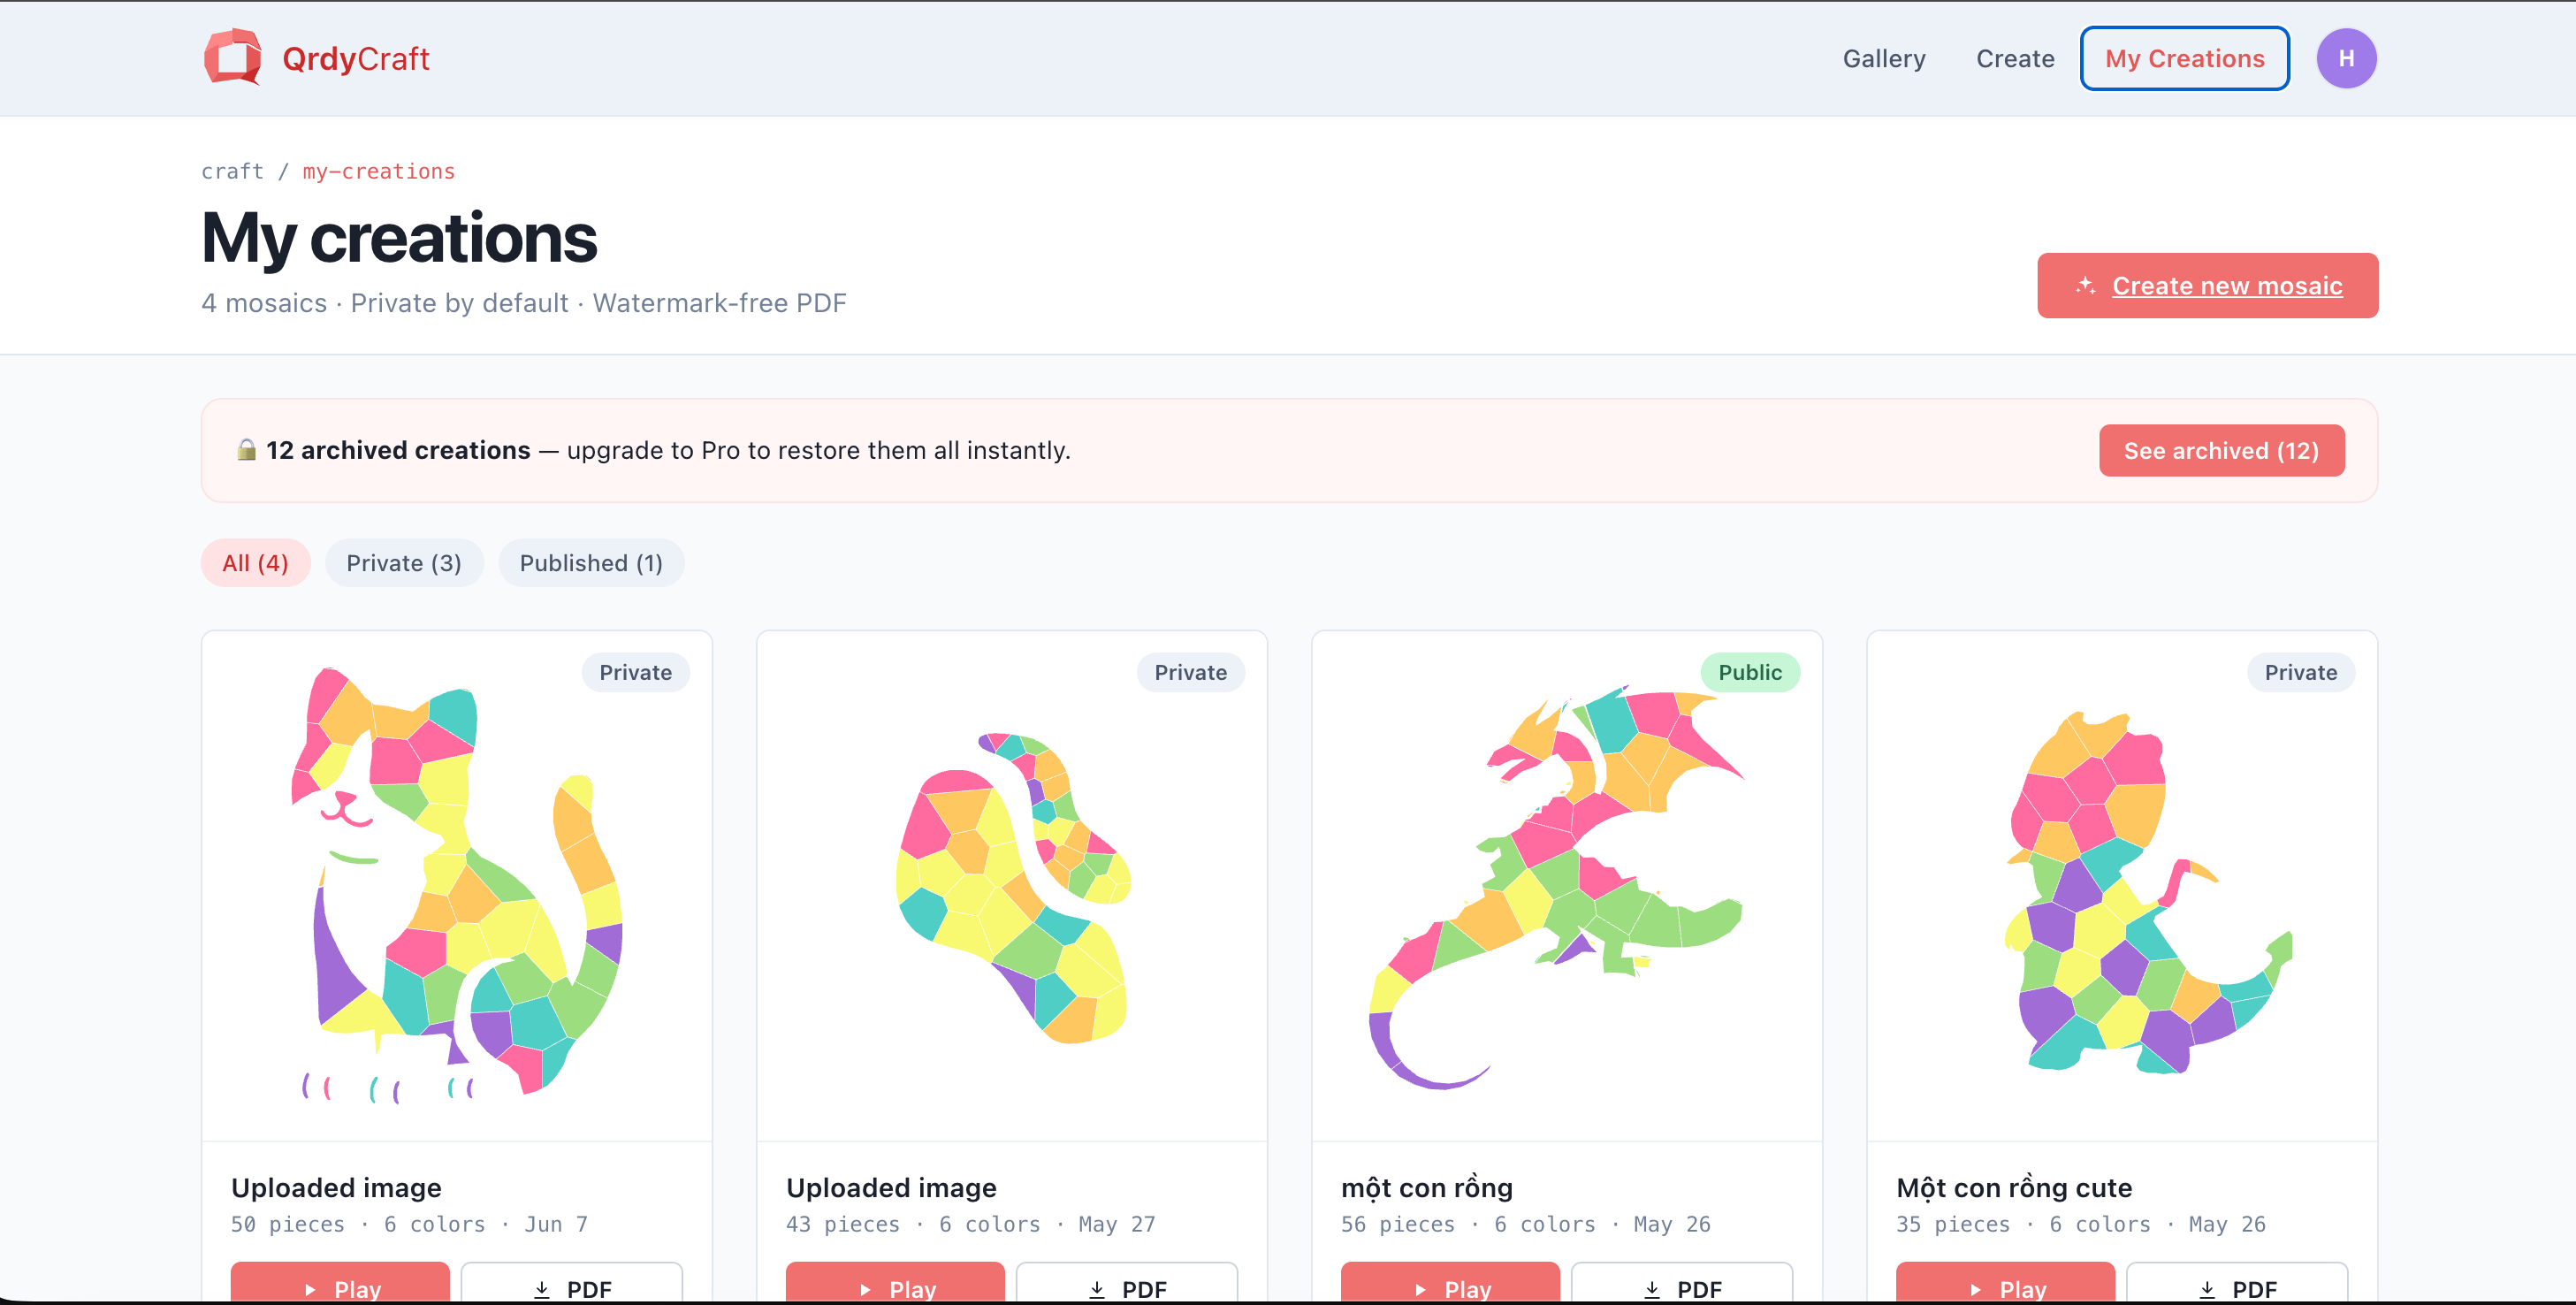
Manage, replay, re-download, or share any mosaic from My Creations
Tips and troubleshooting
Save your project so you can reprint later — every mosaic lives in My Creations, where you can re-download the PDFs, tweak difficulty or palette and re-tessellate, or share a play-online link. On the free plan you can keep up to 5 projects (older ones are hidden, not deleted); Pro removes the limit. If a print shop asks about the extra line in the file, explain it’s a spot color named CutContour used to drive the cutter — they’ll recognize it. If your shop can’t do transparent PVC, matte white sticker vinyl works too; the decals just won’t be see-through.Do it in Canva instead
QrdyCraft also runs as a Canva app. Inside Canva you can generate a mosaic and add it straight to your design as a PNG. Note that PDF download isn’t available in the Canva version yet — for the print-and-cut decal files, use the web app at qrdyai.com/craft.Frequently asked questions
Do I need a special printer at home?
Do I need a special printer at home?
No. The at-home pages (numbered grid, sticker sheet, color key) print fine on any inkjet or laser printer. Only the decal sheet needs a print-and-cut machine, which is why you take that one file to a print shop.
How much does printing the decals cost?
How much does printing the decals cost?
Typically about $1–3 per A4 sheet at a local decal shop, and it usually takes 5–15 minutes.
Are my uploaded photos kept private?
Are my uploaded photos kept private?
Yes. QrdyCraft traces only the outline of an uploaded photo and discards the original, and mosaics made from uploads are never added to the public gallery. Only keyword-based designs can appear there.
What age is this good for?
What age is this good for?
Roughly 4–12. Match the difficulty to the child: Easy (30–50 pieces) for ages 4–6, Medium (60–100) for 7–9, and Hard (120–200) for 10–12.